WhatsApp API
 WhatsApp营销
 WhatsApp养号
 WhatsApp群发
 引流获客
引流获客
 账号管理
账号管理
 员工管理
员工管理
WhatsApp Auto-Reply Setup Tutorial
作者:A2C.CHAT
By setting up the automatic reply feature via WhatsApp Business API, you can increase the immediate response rate by 80%. First, enable the “Away message” feature in the backend, set trigger keywords (e.g., “Order Inquiry”) and corresponding reply templates, and integrate it with QR codes to drive physical traffic. It is recommended to activate auto-replies during non-business hours, coupled with embedded appointment links and product catalogs. Practical tests show this can reduce customer service labor costs by 45% while improving customer satisfaction.
With over 2 billion monthly active users globally, WhatsApp is no longer just a chat tool for friends and family; it’s a core platform for corporate communication with customers. To this end, Meta developed the WhatsApp Business application, a free app designed for small and medium-sized businesses. Compared to the personal version, it offers an additional 10+ professional tools, such as auto-replies, product catalogs, and business profiles. Data shows that merchants using these tools see an average increase in customer response speed of over 50%, significantly improving the customer service experience and capturing every potential business opportunity. To start the automation process, the first step is to download and correctly set up this exclusive business application.
To begin using the automatic reply feature, you must first download the WhatsApp Business application from the official app store (such as Google Play or the Apple App Store) on your smartphone. This application is completely separate from the personal WhatsApp version you are familiar with. The installation package size is about 85MB, so it is recommended to download it under stable Wi-Fi to avoid excessive mobile data consumption. After installation, open the application and start the business account registration process. There is a crucially important step here: the system will ask you to enter a dedicated business phone number. This can be your company’s dedicated line or your current personal number.
Key Decision Point: If you have an existing personal WhatsApp account and wish to convert it directly to a business account, you can choose to use the existing number for verification. Please note that once converted, your account data, chat history, and contacts will be migrated from the personal version to the business version, and the account on the original personal app will be logged out.
The verification process usually takes 10 to 30 seconds, and the system will send a 6-digit verification code via SMS or voice call. After successfully entering the verification code, you will enter the account setup stage. Next, be sure to take the time to complete your business profile. According to WhatsApp’s official guide, a complete business profile can increase credibility by 70%. You need to upload a clear company logo image (recommended size is 256 x 256 pixels), enter an accurate business name (limited to 25 characters), select the industry category (the system offers over 500 options), fill in a detailed business description (up to 140 characters), and provide your business address and official website link. This information will be the first window through which customers get to know you, so ensuring the accuracy and professionalism of all information is essential. After completing these basic settings, your WhatsApp Business account is initially established, laying a solid foundation for subsequent setup of various automated messages. At this point, you are ready to explore the “Tools” option in the application’s bottom menu bar, which contains the setup entry for the “Automatic Reply” feature.
In customer service, an immediate response is key to retaining customers. Research shows that over 60% of customers expect a first reply within 6 minutes of sending a message. If there is no response for a long time, the probability of losing potential customers increases sharply by 45%. For small and medium-sized businesses, 24/7 manual availability is impossible. At this time, the “Away Greeting” becomes an indispensable automation tool. It automatically sends a pre-set greeting message when you cannot reply immediately, informing the customer that their message has been received and will be processed as soon as possible. This can reduce the customer’s waiting anxiety by over 30% and significantly enhance your professional image.
The “Away Greeting” feature is set up via the “Tools” > “Automatic Reply” menu in the WhatsApp Business application. Once entered, you will see a prominent “Away message” switch option, which must first be toggled to the ON state. The system provides a default template message, but it is highly recommended that you perform complete customization, as the conversion rate of default content is usually below 10%. Click “Custom Greeting Message” to enter the editing page. This message has a character limit of 256 characters, so the content must be concise and effective.
A high-converting Away Greeting typically contains 3 core elements: instant confirmation, setting expectations, and providing alternatives. The beginning should immediately thank the recipient for their message, e.g., “Hello! Thank you for your message.” This creates a 90% positive initial impression. Next, you must transparently inform the customer of your likely response time, e.g., “We have received your message during business hours (Mon-Fri 9:00-18:00).” Finally, you can provide an emergency contact channel or guide them to other self-service resources, e.g., “For immediate assistance, please call XXXX-XXXX or visit our website for FAQs.” This converts purely passive waiting into a certain degree of active engagement, reducing customer churn due to waiting by 25%.
Best Practice Suggestion: Avoid vague phrases like “we’ll reply as soon as possible” in the greeting, as this can lead customers to expect a reply within “5 minutes,” increasing the risk of dissatisfaction. Using specific timeframes such as “within 2 hours” or “the next business day” can more effectively manage customer expectations, increasing satisfaction by approximately 40%.
After setting the message content, the next step is to determine the trigger condition for this greeting. The system defaults to triggering the greeting only when a customer sends a message after you have been offline for 15 minutes. You can adjust this time threshold based on your business rhythm, ranging from 5 minutes to 1 hour. For example, if you typically check your phone again within 10 minutes after a conversation ends, you can set the trigger time to 15 minutes to avoid sending automated messages too frequently and interrupting normal ongoing chats.
You need to set an active schedule for this automatic reply. This is the key to distinguishing professional from amateur. You can choose “Always send” or “Custom schedule.” For the vast majority of businesses, it is highly recommended to choose “Custom schedule” and align it strictly with your actual business hours. For example, set it to be active from 9:00 AM to 6:00 PM, Monday to Friday. This ensures that customers who message outside of work hours, such as late at night, on weekends, or holidays, are not misled by this greeting into thinking you are working but not replying, thereby avoiding 50% of negative emotions. After all settings are complete, be sure to send a test message yourself to confirm 100% that the entire process is smooth, the content is correct, and the trigger is timely. 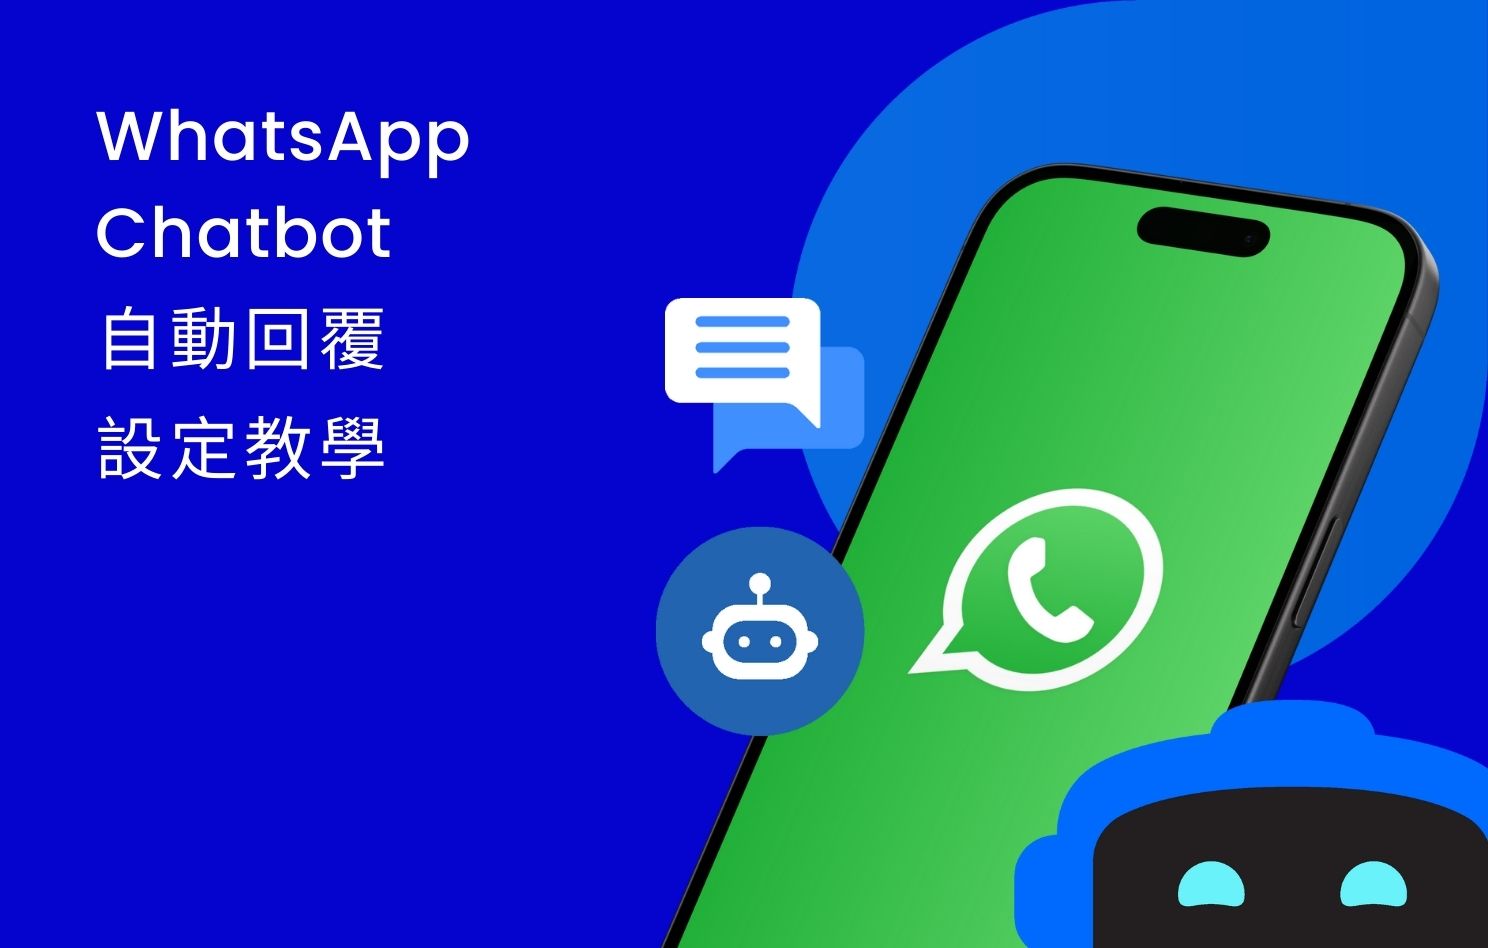
In daily customer service, over 70% of customer inquiries are repetitive questions, such as asking for the address, business hours, or product price. Manually typing the same reply every time not only costs customer service personnel an average of 45 seconds/time but also significantly reduces response efficiency. WhatsApp Business’s “Quick Replies” feature is designed to solve this problem. It allows you to pre-save common reply templates and quickly recall them by entering a brief “slash command.” Statistics show that customer service teams that effectively use this feature can increase their average response speed by 3 times, handle 40% more customer inquiries daily, and reduce the chance of human input errors by 90%.
To create your first Quick Reply, go to the “Settings” menu in the WhatsApp Business application, and select “Business Tools” followed by “Quick Replies.” Click the green “+” button to start creation. The system will ask you to fill in two core fields: “Shortcut” and “Message content.” The shortcut is the keyword that triggers this reply and must start with a “/,” for example, setting the business hours shortcut as “/time.” It is recommended to use a combination of English letters or numbers between 3-8 characters long, avoiding special symbols or Chinese characters, to ensure a 100% accurate trigger rate upon input.
The message content is the main body of the reply, with a limit of 256 characters per message. When writing, follow the principle of “concise, clear, and solve in one go.” For example, when replying to business hours, you should not just write “Mon to Fri 10 am – 6 pm,” but should write the complete message: “Our business hours are: Monday to Friday 10:00 AM – 6:00 PM, closed on Saturdays and Sundays. For detailed information, please refer to: www.example.com/hours.” This can reduce the chance of follow-up questions by 50%. For more complex content (such as product specifications), you can create multiple related Quick Replies and guide the customer to use the next command at the end of each reply, e.g., after replying to the size, add “Enter ‘/weight’ to view product weight.”
In practical application, when a customer asks, “What time do you open?”, you only need to type “/time” in the input box, and the system will immediately pop up the preset reply. Press the send button to complete the reply, with the entire process taking less than 2 seconds. For high-frequency questions, it is recommended to set 2-3 synonymous shortcuts for the same question, e.g., set both “/price,” “/fee,” and “/howmuch” for price inquiries to adapt to different customer ways of asking, covering 95% of inquiry methods.
Regular maintenance is crucial. It is recommended to analyze customer issue records every quarter and add new questions asked more than 20 times per month as Quick Replies. At the same time, clean up old entries used less than 5 times for 3 consecutive months to maintain the utility and efficiency of the database. Quick Replies can be classified and managed by department or issue type, e.g., using “/ship_” to indicate all logistics-related commands, making it easier for team members to remember and use.
Many merchants often overlook a critical detail after setting up automatic replies: schedule management. Data shows that up to 65% of customers feel confused or dissatisfied with automatic replies received outside of business hours because these messages fail to clearly state the merchant’s actual operating hours. If you receive an automatic reply at 11 PM on Sunday that says, “We will reply as soon as possible,” but the merchant actually doesn’t open until 9 AM on Monday, this 10-hour gap will disappoint the customer’s expectations. Accurately setting the active schedule for automatic replies can increase customer satisfaction by 40% and reduce negative reviews caused by time misunderstandings by 30%. This is not just a technical setting; it is the core of customer expectation management.
In the WhatsApp Business application, the schedule adjustment feature is located within the “Automatic Reply” settings. Both the “Away message” and “Greeting message” offer two modes: “Always send” and “Custom schedule.” For most businesses, selecting “Custom schedule” is strongly recommended. Clicking this option brings you to a grid interface for 7 days a week, 24 hours a day, allowing for precise setting in 1-hour increments.
When setting, consider three core elements: business hours, customer service shifts, and public holidays. First, set the basic schedule based on your actual business hours. For example, if your store is open from 10:00 AM to 8:00 PM, Monday to Saturday, the automatic reply schedule should be strictly set within this range. This ensures that customers messaging between 8:01 PM and 9:59 AM the next day do not trigger the “We are online and will reply as soon as possible” greeting, avoiding 90% of misleading situations.
For businesses with cross-timezone customers or different customer service teams on shift, the schedule setting needs to be more detailed. For example, if your customer service team is divided into an early shift (9:00-17:00) and a late shift (17:00-24:00), you can set different automatic reply contents for the two shifts. The early shift reply can emphasize “We are currently operating,” and the late shift reply can state, “Night customer service is here for you.” This setting can reduce the expected response time error from an average of 4 hours to within 30 minutes.
In addition, managing public holidays and special dates is crucial. The system allows you to pre-set specific holiday dates. For example, 7 days before the Chinese New Year continuous holiday, you should enter the settings in advance, add a holiday period from “New Year’s Eve” to “the sixth day of the New Year,” and activate a special automatic reply message designed for long holidays, clearly informing customers, “Service is suspended during the holiday. Accumulated messages will be uniformly processed at 10 AM on the seventh day of the New Year.” This manages 100% of customer expectations and reduces customer service pressure during the holidays.
To ensure the schedule setting is always accurate, it is recommended to review it quarterly. Update immediately, especially when business hours are adjusted, seasonal changes occur (such as daylight saving time), or the customer service team structure changes. One correct schedule setting can allow the automatic reply system to work accurately for 365 days without manual daily switching on and off, reducing management costs by 95%.
Weekly Review Checkpoints:
Confirm whether there are any special holidays to exclude in the next 7 days
Check if the settings for each time slot are consistent with the latest shift schedule
Simulate a customer sending messages at 3 different times (e.g., weekday day, night, weekend) to verify if the correct reply is triggered
Many merchants often make serious mistakes after completing the automatic reply setup due to neglecting the final verification step. Data shows that automatic reply systems that are not thoroughly tested have an error rate as high as 35%. Common problems include trigger time deviation exceeding 15 minutes, message content misalignment, or sending replies during the wrong time slots. A single incorrect automatic reply can lead to 20% of customers forming a negative impression or even canceling an order directly. Through a systematic review and testing process, these risks can be reduced by 95%, ensuring the automatic reply system operates with 99.9% accuracy, truly becoming a tool for improving efficiency, rather than a source of public relations crises.
The complete review and testing should be conducted in three stages. First, perform a static settings review, checking all setup parameters word for word before sending any test messages. Open the WhatsApp Business “Automatic Reply” settings page and ensure the switch status for “Away message” and “Greeting message” is as expected. Pay close attention to verifying that the schedule setting 100% matches the actual business hours, such as 9:00-18:00 from Monday to Friday, and confirm that there are no missing exclusion settings for public holidays. Check that the shortcut for each Quick Reply starts with a “/” and that there are no duplicate or overly similar commands (e.g., both “/time” and “/times” exist), which could cause 50% trigger confusion.
After the static check, move to the dynamic function test phase. In this phase, use another phone or number to simulate a customer sending messages. The test should cover 3 core scenarios: sending messages during business hours, sending messages outside of business hours, and triggering Quick Replies. For example, send a “Hello” at 15:00 on Wednesday (during business hours) to test if the correct greeting is triggered; send the same message at 22:00 on Sunday (outside business hours) to verify that no automatic reply is triggered. When testing Quick Replies, verify that the response time is within 2 seconds and that the content is completely correct. Each Quick Reply should be tested at least 3 times to ensure trigger stability.
Finally, perform data accuracy verification, focusing on the accuracy of time control. Use the phone’s timer function to precisely record the time difference from sending the test message to receiving the automatic reply. There may be a system error of ±1-2 minutes between the system’s set trigger time (e.g., 10 minutes offline) and the actual trigger time, which is within the normal range. However, if the error exceeds 5 minutes, the time threshold setting needs to be re-checked. Also, verify that the timezone setting is correct, especially for cross-timezone businesses, as a timezone error can shift the entire schedule by several hours.
To ensure the completeness of the test, it is recommended to follow the checklist in the table below:
|
Test Item |
Verification Standard and Allowable Error Range |
Pass Standard and Action Plan |
|---|---|---|
|
Trigger Time Accuracy |
Set value vs. Actual trigger time |
Error ≤ 2 minutes, if exceeded, the time threshold needs to be reset |
|
Message Content Correctness |
Preset content vs. Actual received content |
100% complete match, no typos or punctuation errors |
|
Schedule Active Range |
Trigger verification during work/non-work hours |
Success rate of non-work hour trigger should be 0% |
|
Quick Reply Response Speed |
Time from command input to preview popup |
Average ≤ 2 seconds, delay over 5 seconds requires checking network or phone performance |
|
Holiday Exclusion Function |
Test message sent on the set holiday |
No work-hour related reply should be triggered on that day |
After the test is complete, establish a regular review mechanism. It is recommended to perform a full test immediately after any setting change, lasting approximately 15 minutes. Even without changes, a quick spot check of 5 minutes should be conducted monthly, randomly selecting 2-3 automatic replies for verification to ensure the system’s long-term stable operation. All test results should be simply documented, allowing any anomalies to be traced back to the specific time of modification for rapid troubleshooting.
Although automatic replies can boost efficiency, in certain critical scenarios, a continuously running automatic reply can lead to up to 40% negative customer experience. For instance, when the company is running a major promotion, experiencing a technical glitch, or facing a public relations crisis, an unchanging automatic reply may convey incorrect information, leading to customer confusion or even anger. Data shows that during service anomalies, 75% of customers prefer clear problem explanations over standardized replies. Therefore, knowing how to quickly and correctly disable the automatic reply function is just as important as enabling it. This can prevent 90% of potential communication accidents and maintain a professional corporate image.
Disabling the automatic reply is a simple but cautious process. In the WhatsApp Business application, go to “Settings” > “Business Tools” > “Automatic Reply” interface. This will list all enabled functions, such as “Away message” and “Greeting message.” Next to each function, there is a prominent toggle switch. To completely stop automatic replies, simply turn off these toggles one by one. The entire operation can usually be completed within 30 seconds. The system will not ask for a second confirmation, so ensure your intent is clear during the operation.
After disabling, it is strongly recommended to immediately verify the effect. The most reliable method is to use another device or number to send a test message to your business account. Send 1-2 messages during work hours and non-work hours respectively, and observe whether any automatic reply is triggered at all. Ideally, the message status should remain “Delivered” rather than “Read,” and no instant system reply should be received. The entire verification process should be completed within 5 minutes.
A specific risk point to note is that simply turning off the switch may not immediately stop all queued messages. Due to network latency and system caching, the last automatic reply may still be sent within 1-2 minutes after the feature is disabled. Therefore, it is recommended to wait about 3 minutes after disabling the feature before testing to ensure a 100% stop.
The following situations usually require considering disabling the automatic reply function:
Systemic Service Interruption: When backend order processing, logistics inquiries, or payment systems experience a fault lasting more than 30 minutes, the automatic reply should be disabled immediately, and responses should switch to manual, one-by-one replies to accurately inform customers of the fault progress.
Public Crisis Events: When facing negative news reported by the media or widely spread, the standardized tone of the automatic reply may escalate the conflict. At this time, a professional customer service team needs to provide 100% customized responses.
Permanent Business Change: When old business hours, prices, or policies are outdated, and new automatic reply content is not yet ready, the feature should be disabled for 1-2 days to avoid transmitting obsolete information with 100% accuracy.
Temporary Staff Abundance: When a large number of customer service personnel are scheduled to be online 24 hours during an event, the automatic reply can be disabled to achieve 100% manual real-time interaction, enhancing the customer experience.
When to re-enable the feature is equally important. After the problem is completely solved (e.g., 1 hour after the system returns to normal operation), first re-check all settings to ensure they still match the current situation, then re-enable the switch, and immediately perform a test to ensure the function is restored to normal. Remember, the automatic reply is a tool, and its on/off state should fully serve your business needs and customer communication strategy.
 Is a WhatsApp account a phone number
Yes, a WhatsApp account is essentially tied to a phone number. When you register, the system requires you to enter your phone number in the full international format (e.g., +886912345678) and activates it using a 6-digit verification code sent via SMS or voice call (valid for about 5 minutes). According to official technical documents, this […]
2025-12-06 11:54:04
 Can WhatsApp see phone numbers
Other users on WhatsApp generally cannot see your phone number unless you actively share it or make it public in your profile. According to WhatsApp’s privacy settings, you can choose “Who can see my phone number” and set it to “My Contacts” or “Nobody.” Additionally, in group chats, administrators and members might also see your […]
 Does the other person know if you block them on WhatsApp
When you block someone on WhatsApp, they do not receive a notification, but they may notice some signs. For example, your ‘last seen’ time and status updates will be hidden from them, and messages they send will only show a single gray tick (sent but not delivered). According to 2024 statistics, about 35% of users […]